Organize 3D assets and libraries for maximum efficiency
Stay agile and organized.
When it comes to working with 3D assets, organization is key. Whether you're a 3D designer or a manager who keeps the projects going, having a well-structured system can significantly boost workflow efficiency. In this blog post, we'll explore all the possibilities for creating custom libraries in Vectary, making the most out of your Pro account, and keeping your 3D assets easily accessible for upcoming projects.
Start with Pro or Business Workspaces
One of the most effective ways to streamline your asset management is to establish dedicated Pro workspaces within Vectary. If you need team access to the files, a Business Workspace is even a better solution.
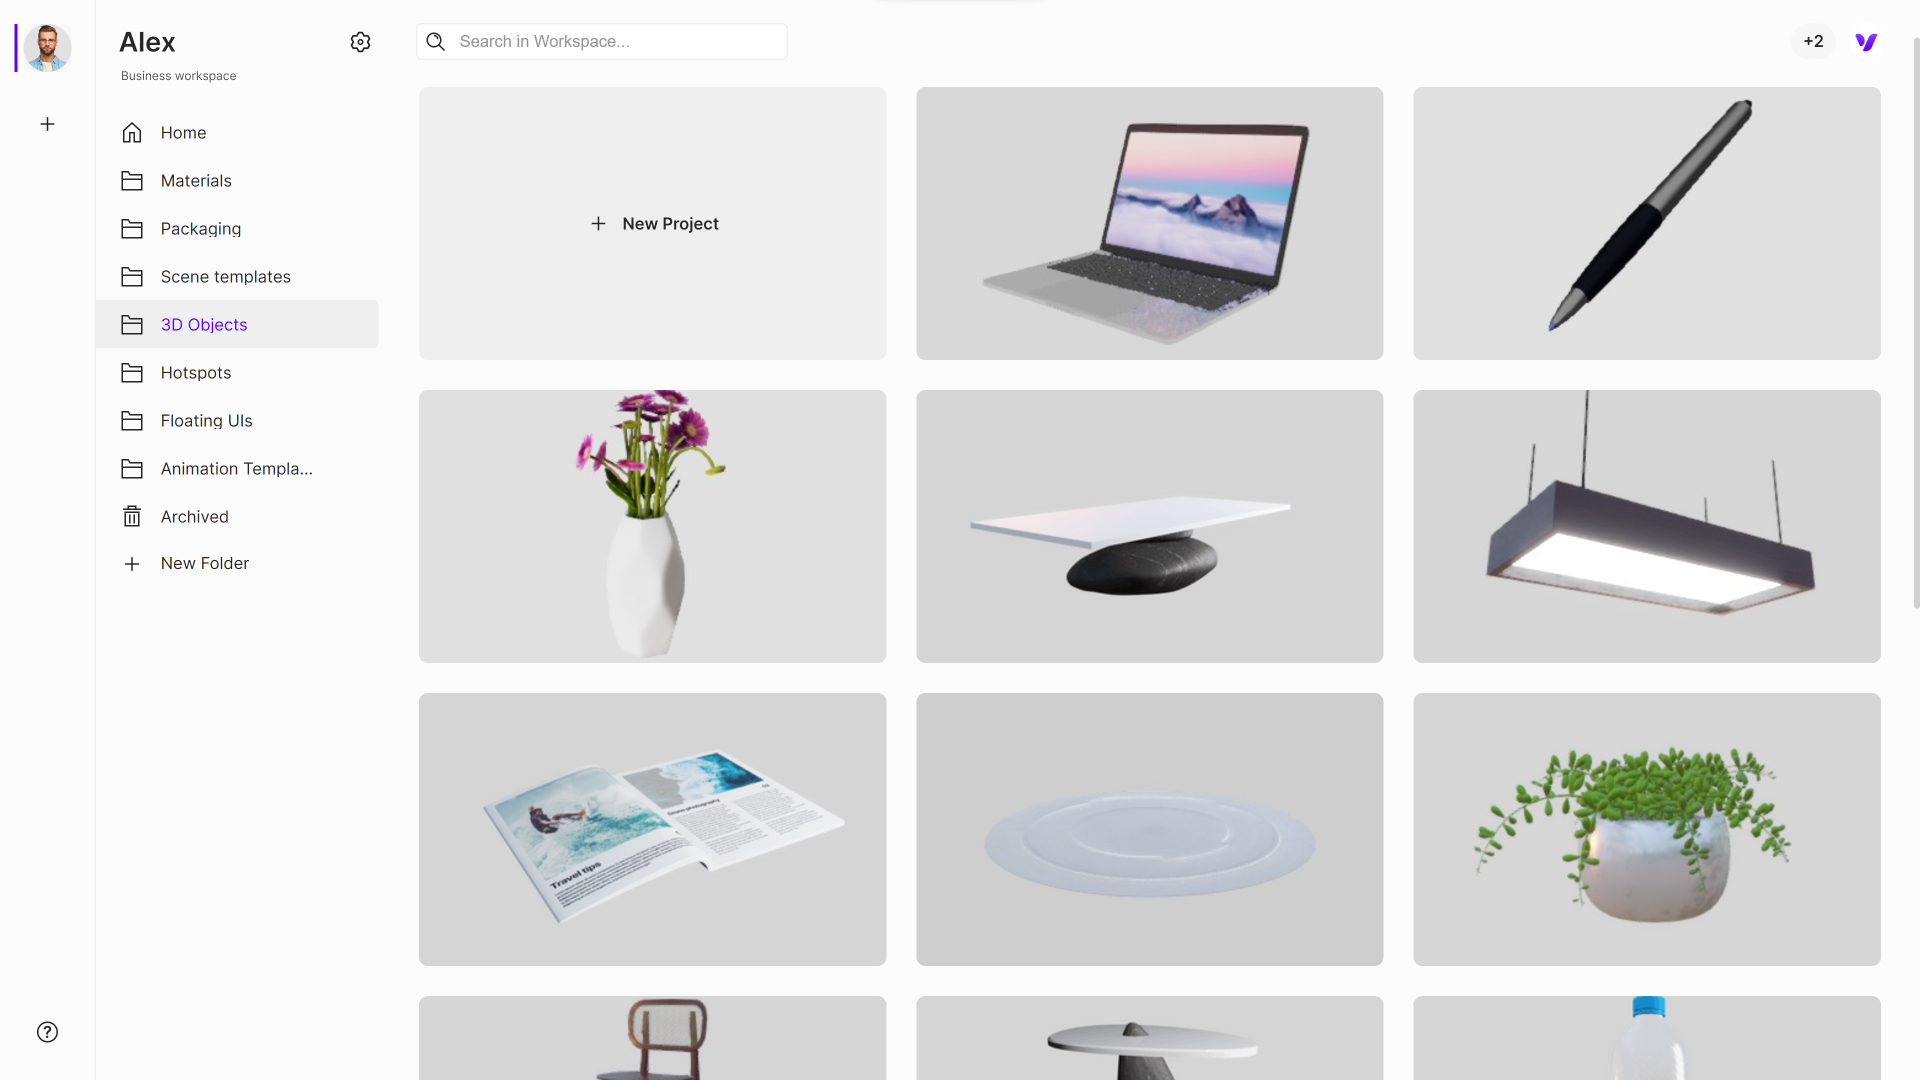
These workspaces provide easy access to various folders where you can store your saved assets, including 3D scene templates, 2D graphics, 3D objects, custom floating UIs, and even 3D animations. By building your own 3D design system within Vectary, all of the assets will be accessible while you are working in Vectary Studio.
How can a custom asset library improve your workflow
Reuse 3D models
A dedicated Pro workspace lets you quickly access your 3D library and drag-and-drop 3D objects onto a new scene. This feature makes building scenes fast and efficient, as you don't have to import and adjust 3D files your use often.
Create custom materials library
Do you have a special set of stone materials you will use in the project, or plastic materials for a specific product series? Vectary offers a unique workflow for saving materials during your creative process. Every saved material is automatically saved on your workspace as a new project. If you organize them into a separate folder, this appears as a special category in your Material library in Vectary Studio, making it simple to locate and apply them to your 3D objects.
Store standard 2D graphics
Keep track of all your 2D graphics, such as branding and packaging images, within the Pro workspace. These images can easily be incorporated into new scenes as stickers or decals, ensuring a consistent visual identity across your projects.
Save scene templates
Scene templates are a game-changer for speeding up your workflow. Vectary already has a set of built-in presets you can use when starting a project. However, you can create your own scenes and displays, complete with cameras and lighting setups.
Reuse hotspots and Floating UIs
When building multiple 3D configurators, you may need to follow brand guidelines or maintain consistency across all your 3D presentations. This can be quite time-consuming if you need to do it from scratch every time. The smart process is to save the entire custom Floating UI or hotspot graphic and simply update the interactions in the new one as needed.
Complete 3D animations
Take your efficiency a step further by reusing complete 3D animations. When a group is animated in Vectary, you can reuse it in other projects. Simply drag and drop these templates into the workspace, add new objects to the animated group, and create a fully animated scene within seconds.
How to structure your custom 3D library
If you are working on numerous projects within the Pro workspace, then create multiple folders dedicated to clients, projects, or asset types. However, if your company is working with 3D design on a larger scale, it would make sense to have multiple Business workspaces. Dedicate one of them as a 3D design system for custom library of 3D models, materials, 2D graphics, logos, 3D configurator elements, animations, or full 3D scenes. Everyone with access to the workspace can reuse them for their projects in Vectary Studio.

Here's a tip for agencies working with multiple clients: dedicate each workspace to a specific client. Occasionally, clients may proactively purchase a workspace for agencies. This allows them access to assets even after the campaign concludes, and they can reuse them for future activities. These could include social media posts, tradeshow visuals, and more.
The advantage of the Vectary platform and Pro workspaces is the flexibility. File accessibility, security and organization can directly improve output of outstanding and consistent work.