Introducing the first 3D UI maker for web designers
Discover the easiest way to create UI for 3D and AR.
Discover the easiest way to create UI for 3D and AR. Meet Vectary’s advanced SVG import feature.
UI design in a way that has never been done before
With the creative industry constantly evolving, pushing boundaries and taking leaps, it is necessary to stay on top of the new trends. Designers who focus on 2D usually use vector-based formats and tools when creating prototypes for new UIs. Vectary's new feature provides an intersection between 3D and 2D creative tools with the aim to simplify the design process. Vectary is the only 3D design platform that helps to bring 3D and AR design closer to 2D designers.
The main idea behind the feature is that the present-day 2D designers will most certainly become the 3D UI designers of tomorrow. Most interfaces are now slowly transitioning into AR and 3D space.
Benefits of the new Vectary's SVG import
The SVG import introduces a number of benefits into the field:
- Vectary stores SVG files as vector objects, so you have all the control over path quality, meshing and rasterization.
- All SVG file settings can be easily adjusted in one panel and reversed at any time during the creative process.
- It is up to you to choose whether you want to work with the SVG file as a 2D image or a 3D geometry.
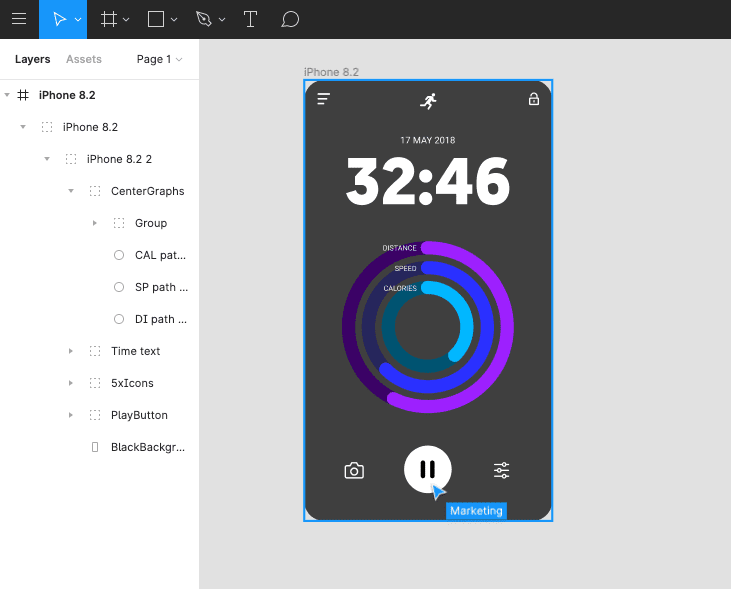
How to start prototyping a 3D and AR UI mock-up:
- Download your SVG file.
- Drag and drop the file into Vectary. At first, it will appear as a rasterized 2D image. In the right panel, an SVG object menu will appear.
- In the Geometry tab, you will find 3 properties you can edit: “Segments”, “Offset” and “Extrude”. By increasing “Extrude” value, your object takes on a 3D look - the higher the value, the thicker the object. “Segments” define the quality of 2D shapes converted to 3D geometry - the higher the value, the more precise the object becomes. Please note that this will increase the size of the exported file. When it comes to the “Offset” function, it basically disassembles the object into different layers based on the SVG structure. The layers are then spaced out into the third dimension which provides you with an exploded view.
- Right click on the object and then “Convert To Geometry”, the SVG file gets converted into 3D. Now you can change it's color and materials, various 3D functions like Bend, or edit the entire mesh by entering the Edit mode (press Enter when selected)
- The basic 3D model is ready. Now you can start adding various backgrounds and lighting options.
- When you’re finished, you can export the project as a PNG file, 3D file or embed it into your website for anyone to see as an interactive 3D element with AR preview.
Tip: How to export an SVG file in Figma to achieve the layered 3D UI effect in Vectary
- Your SVG file structure determines the spacing between objects in 3D. The deeper a layer or group in the file’s root structure is, the higher it will appear in Vectary’s “Geometry” SVG settings when using the “Offset by structure”.
Create 3D and AR logos
Use Vectary to create 3D logos that can be viewed as an interactive 3D element on your website or as an object in augmented reality. Just drag and drop the SVG file of your 2D logo into the scene and extrude it in the Geometry settings in the right panel.
Show your 3D UI design on your website and in Augmented Reality
Wrap and deform UIs and 3D logos
Another example of use would be wrapping the UI or logo around the object. This could be a UI that can be presented in augmented reality or a label wrapped around a bottle. You can experiment with “Deform” tools such as “Bend” to achieve that. The new Vectary SVG file import opens up new possibilities for 2D designers, especially when it comes to creating mock-ups and testing out different scenarios.
FAQ
Is this a paid feature?
SVG import and it’s editing is part of the free plan.
How do I import an SVG file?
You can simply drag and drop the file into the scene, or you can import it by clicking on the menu button and using the import function.